


King & Country · Australian Light Horse · AL
Australian Light Horse figures
Explore mounted and dismounted Light Horse figures alongside New Zealand, camel corps and Ottoman subjects. Compare the set code and photograph before opening the detailed article.
Historical context
Australian Light Horse troops generally rode to battle and fought dismounted. Their First World War service included Gallipoli and the campaigns in Sinai and Palestine. The mounted attack at Beersheba on 31 October 1917 is a central subject of the AL range, alongside patrols, support troops and opposing forces.
From the collection
Featured sets
Different subjects, poses and stories from the collection.
AL · AL014
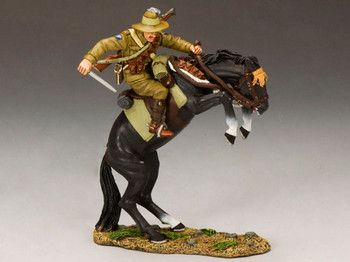
Leaping Light Horseman
A rearing black horse gives this mounted figure its height and movement. The rider’s extended arm and the horse’s raised forelegs make the pair especially readable beside more level, forward-moving cavalry poses.
Explore this set →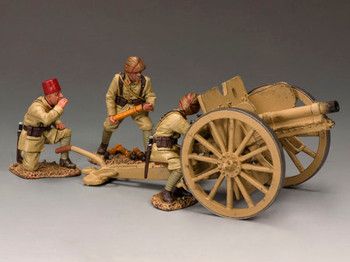
AL · AL015
Turkish 77mm Artillery Set
The field gun’s large wooden-spoked wheels and protective shield frame two Ottoman crewmen. It brings the opposing artillery into a collection often dominated by mounted Light Horse figures.
Explore this set →AL · AL036
Australian Officer on Camel
The officer turns in the saddle of his camel, with a patterned blanket adding color beneath him. The backward glance gives the figure a clear relationship to other riders following in a column.
Explore this set →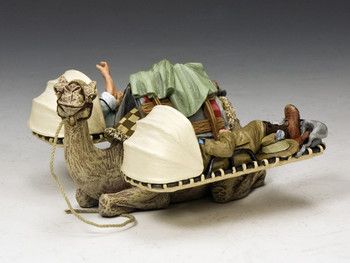
AL · AL058
Camel Field Ambulance
A kneeling camel carries a litter on each side, with a wounded man in each. The set makes evacuation visible through its unusual transport arrangement and the contrast between the patients and their animal carrier.
Explore this set →The collection
Australian Light Horse set catalog
Explore the AL range, covering Light Horse, New Zealand Mounted Rifles, camel troops and Ottoman subjects. Linked entries open the full set articles. Separate variants retain their own codes; gaps in numbering are not filled with assumed releases.
106 sets
No sets match your search. Try another name or set code.
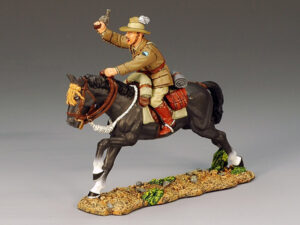 AL001Australian Lighthorse Officer w/ Pistol
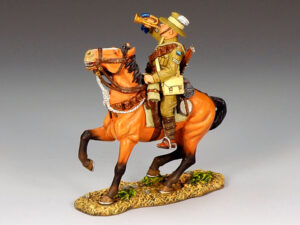 AL002Lighthorse Bugler
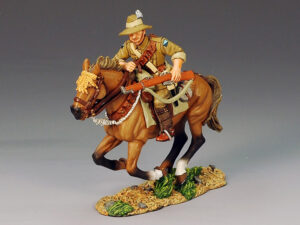 AL003Australian Lighthorse w/ Rifle
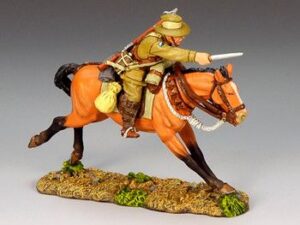 AL004Charging with Bayonet to the Front
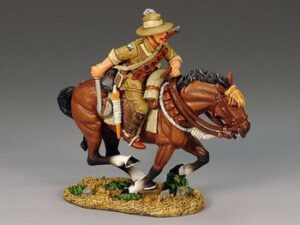 AL005Charging with Bayonet to the Rear
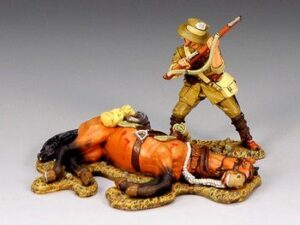 AL006Dismounted and Still Fighting
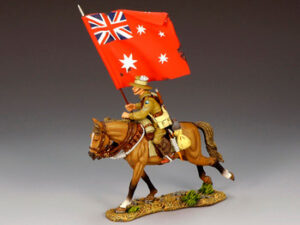 AL007AFlagbearer with Red Ensign
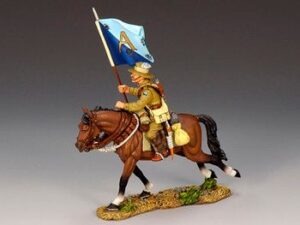 AL007BMounted Flagbearer with Squadron Guidon
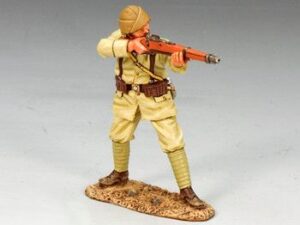 AL008Turkish Soldier Standing Firing
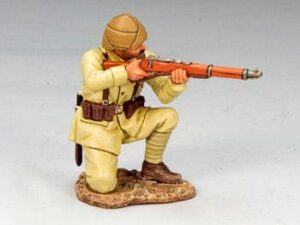 AL009Turkish Soldier Kneeling Firing
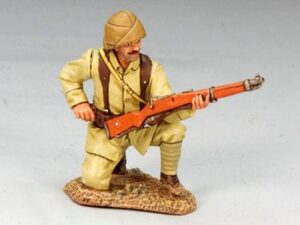 AL010Turkish Soldier Kneeling Loading
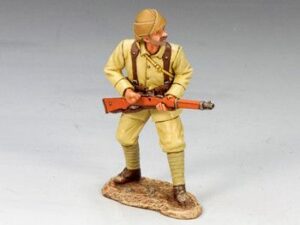 AL011Turkish Soldier Standing Ready
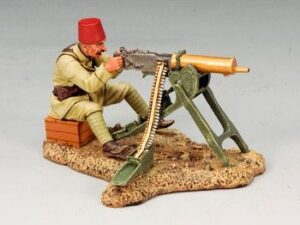 AL012Turkish Machine Gunner
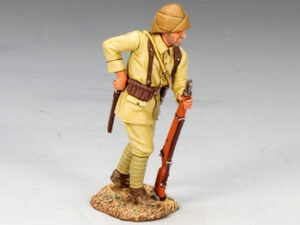 AL013Turkish Soldier Reaching for Bayonet
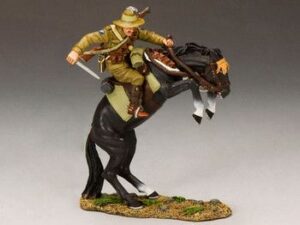 AL014Leaping Light Horseman
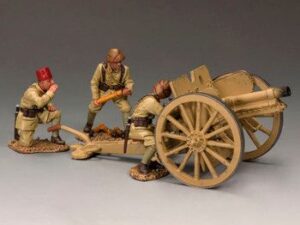 AL015Turkish 77mm Artillery Set
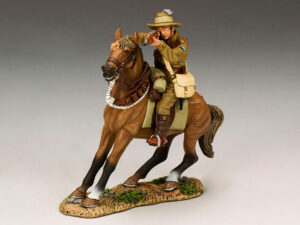 AL016Firing Rifle Light Horseman
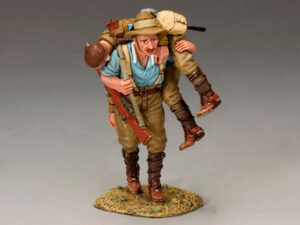 AL017The Rescue
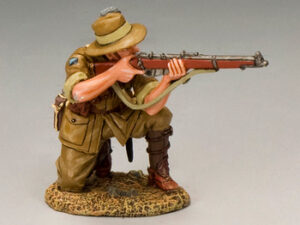 AL018Kneeling Firing Rifle
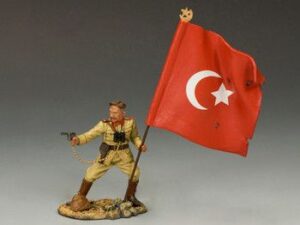 AL019Turkish Officer with Flag
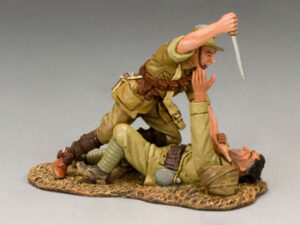 AL020Fighting Duo
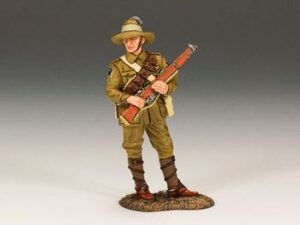 AL021Standing Light Horseman
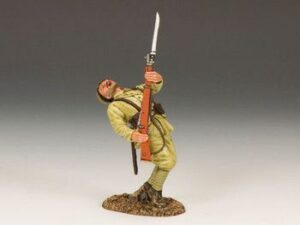 AL022Turkish Casualty
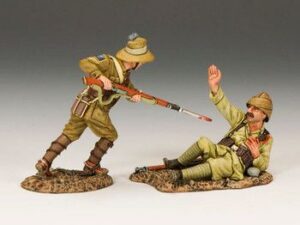 AL023Surrender or Die
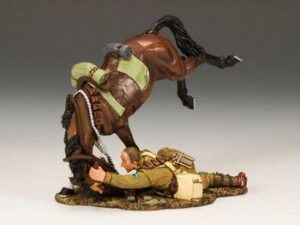 AL024Collapsing Horseman
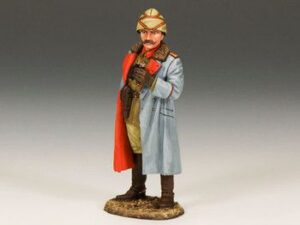 AL025General Kemal Ataturk
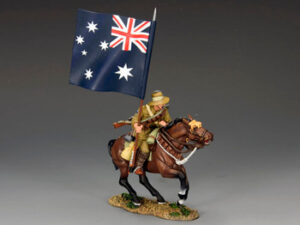 AL026Aussie Flagbearer
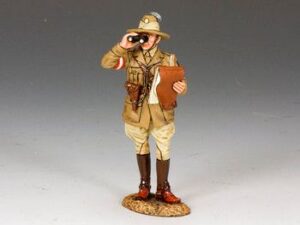 AL027Australian Staff Officer
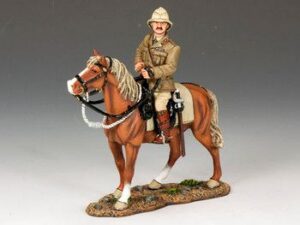 AL028General Sir Edmund Allenby
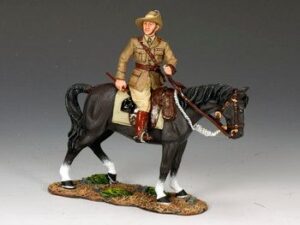 AL029Mounted Sir Harry Chauvel
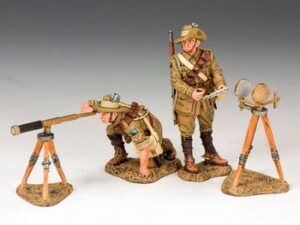 AL030Heliograph Set
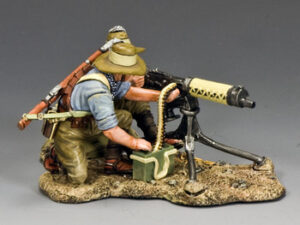 AL032Machine Gun Set
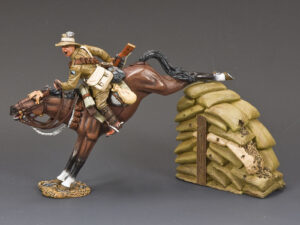 AL033Up and Over
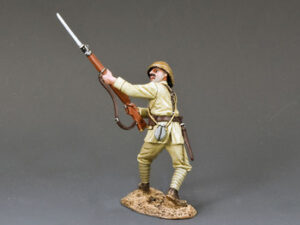 AL034Turkish Soldier Thrusting Bayonet
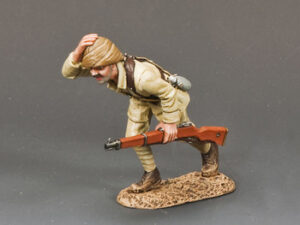 AL035Turkish Soldier Running
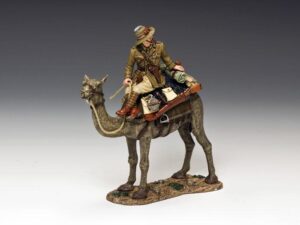 AL036Australian Officer on Camel
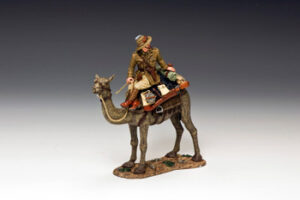 AL036(B)Australian Officer with Army Blanket
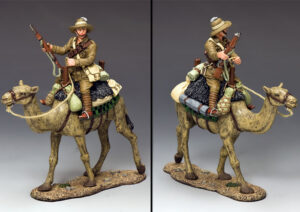 AL037Aye Ready
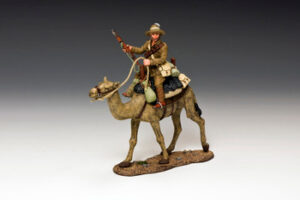 AL037(B)Aye Ready with Army Blanket
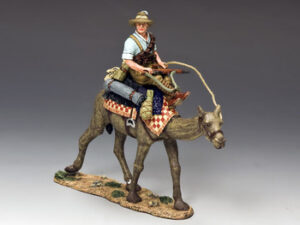 AL038Shirt-Sleeve Order
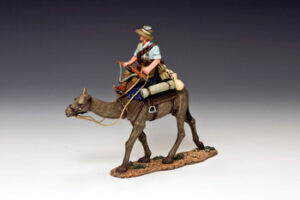 AL038(B)Shirt-Sleeve Order with Army Blanket
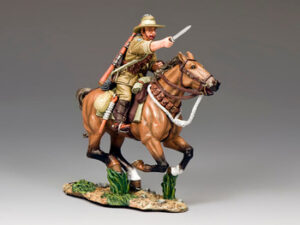 AL039The Charger
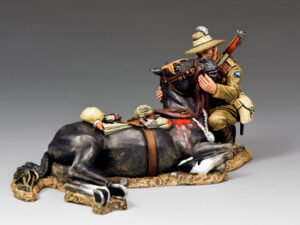 AL040Goodbye Old Girl
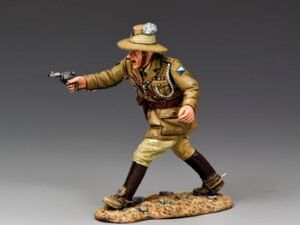 AL041Officer with Pistol
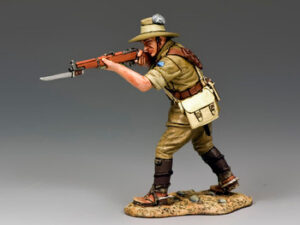 AL042Standing Firing
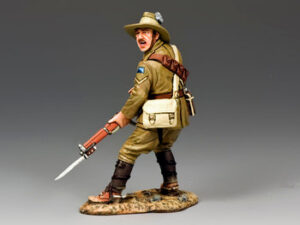 AL043Standing Loading
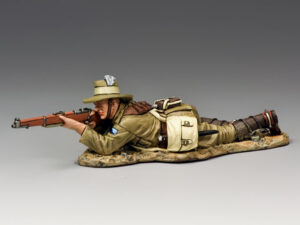 AL044Lying Firing with Rifle and Bayonet
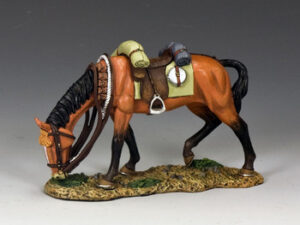 AL045Standing Horse No. 1
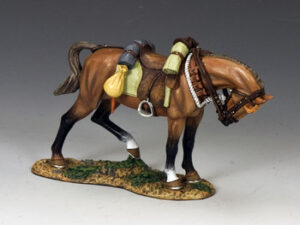 AL046Standing Horse No. 2
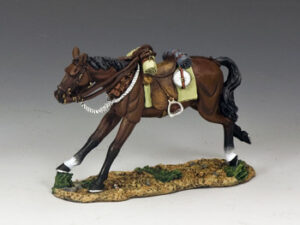 AL047Galloping Horse No. 1
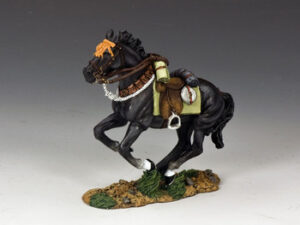 AL048Galloping Horse No. 2
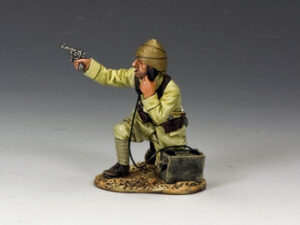 AL049Kneeling Turkish Radioman
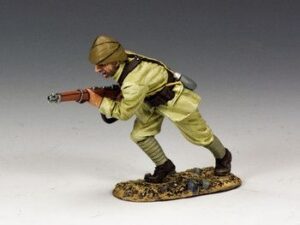 AL050Charging Turk with Rifle
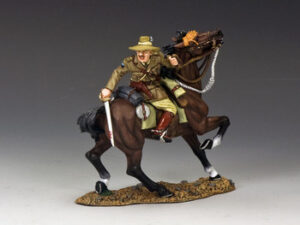 AL051The Swordsman
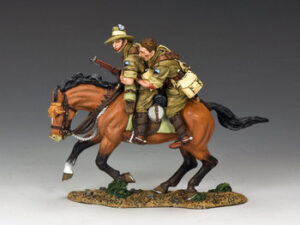 AL052Hang On Mate
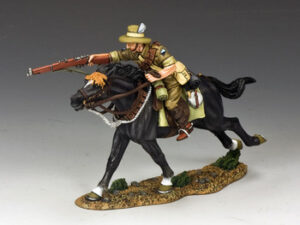 AL053The Shooter
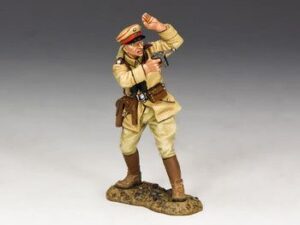 AL054German Officer with Pistol
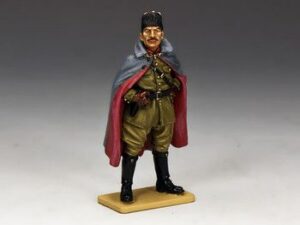 AL055Turkish Commander
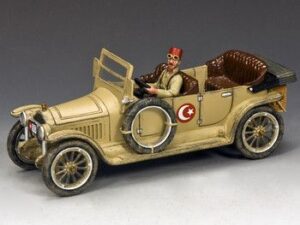 AL056Turkish Staff Car
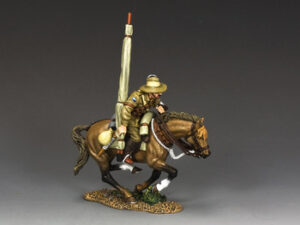 AL057Galloping Stretcher Bearer
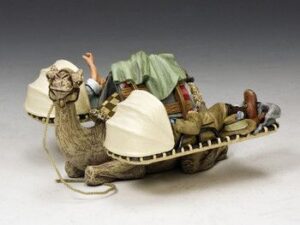 AL058Camel Field Ambulance
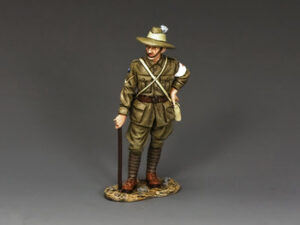 AL059Standing Medic
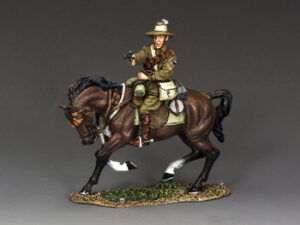 AL060Sergeant Firing Revolver
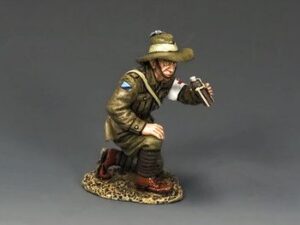 AL061Kneeling Medic
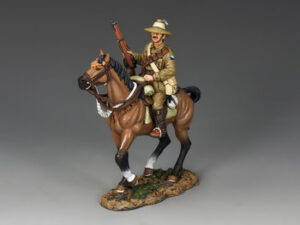 AL062Trooper with Rifle Up
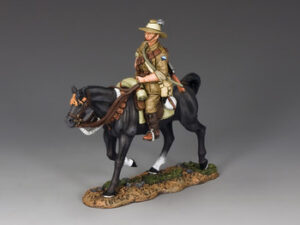 AL063Trooper with Rifle to the Right
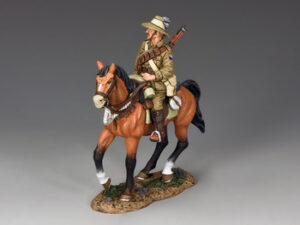 AL064Trooper with Rifle to the Left
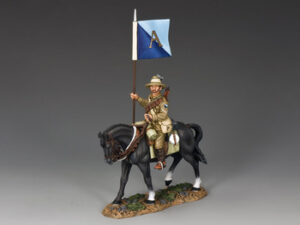 AL065Corporal with Guidon
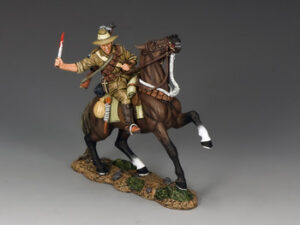 AL066Fighting with Bayonet
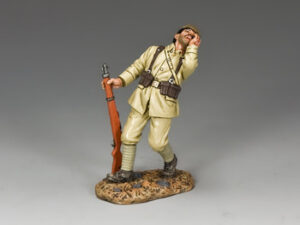 AL067Wounded Johnny Turk
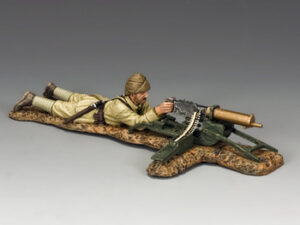 AL068Lying Prone Turkish Machine Gunner
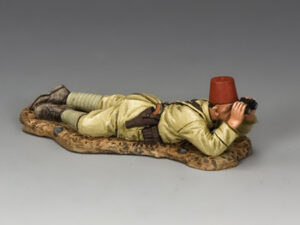 AL069Lying Prone NCO with Binoculars
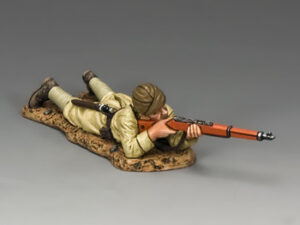 AL070Lying Prone Turkish Rifleman
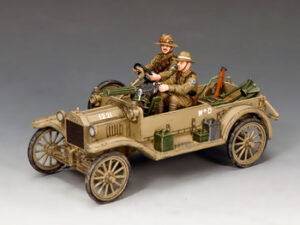 AL071Light Horse Model T
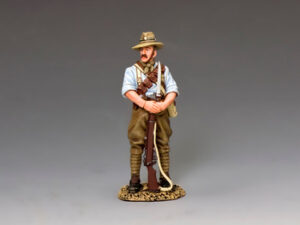 AL072Dismounted Rifleman
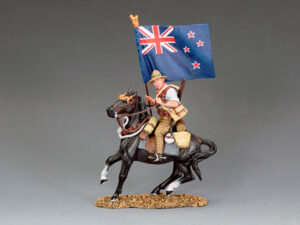 AL073Kiwi Flagbearer
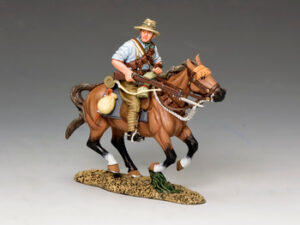 AL074Mounted Kiwi Charging with Rifle
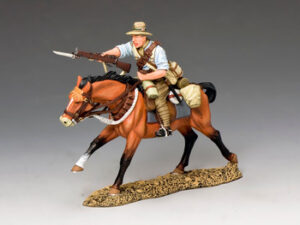 AL075Mounted Kiwi Charging with Rifle No. 2
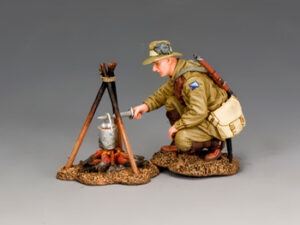 AL076Preparing Some Grub
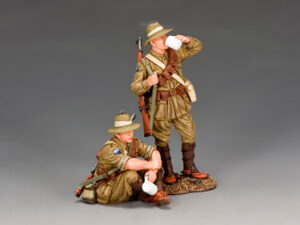 AL077Enjoying a Brew-Up
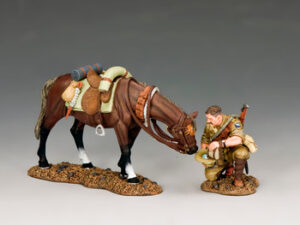 AL078A Drink of Water
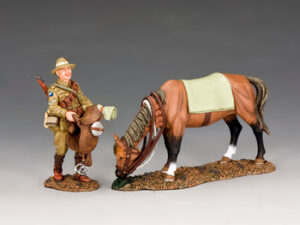 AL079Preparing to Saddle-Up
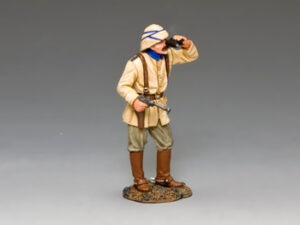 AL080Turkish Officer with Pistol and Binoculars
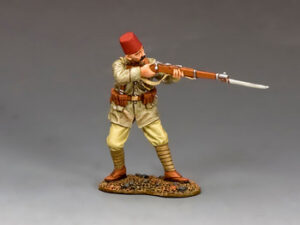 AL081Turkish NCO Aiming Rifle
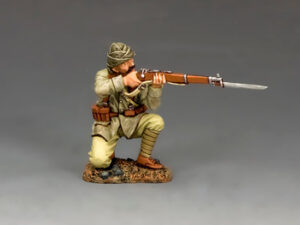 AL082Kneeling Firing Johnny Turk
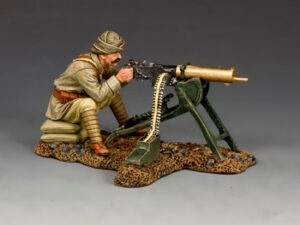 AL083Turkish Machine Gunner
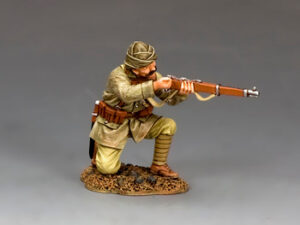 AL084Turkish Soldier Kneeling Reloading
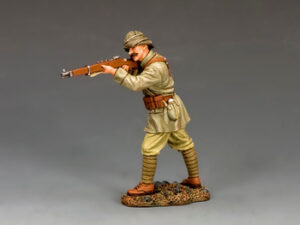 AL085Turkish Soldier Standing Firing
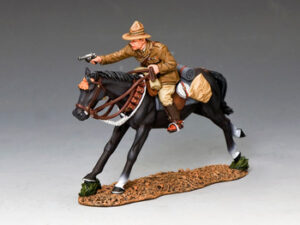 AL086New Zealand Mounted Rifles Officer
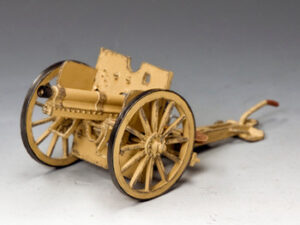 AL088Turkish 77mm Field Gun
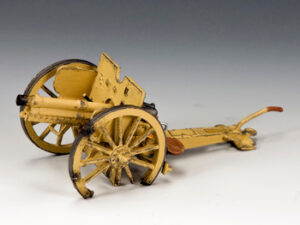 AL089Broken and Abandoned
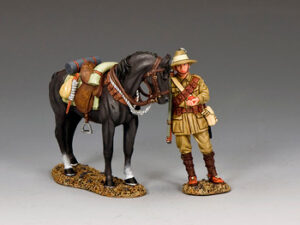 AL090The Morning Snack
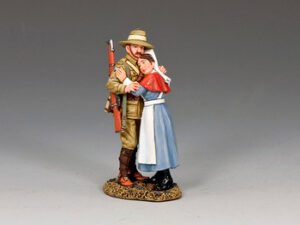 AL091The Fond Farewell
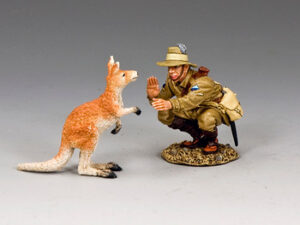 AL092Skippy the Mascot and His Handler
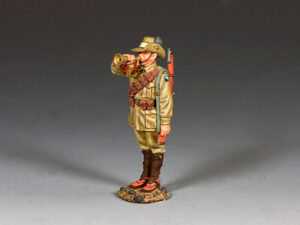 AL093Light Horse Bugler
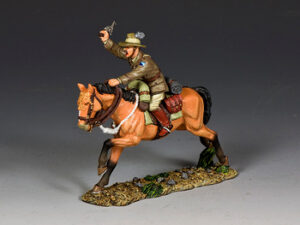 AL094Australian Light Horse Officer with Pistol
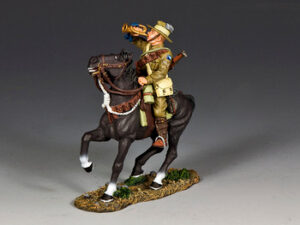 AL095Australian Light Horse Bugler
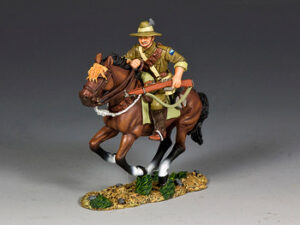 AL096Australian Light Horse Trooper with Rifle
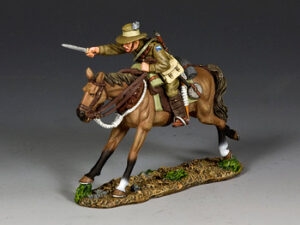 AL097Australian Light Horse Trooper Charging with Bayonet
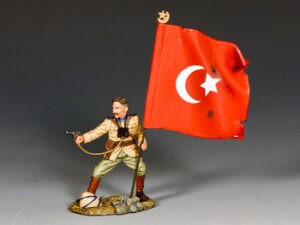 AL098Turkish Officer with Flag
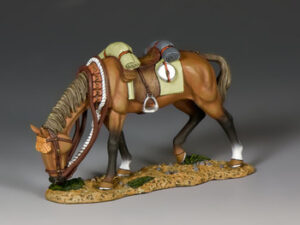 AL099Standing Horse No. 1
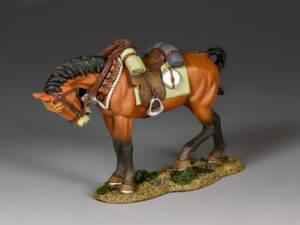 AL100Standing Horse No. 2
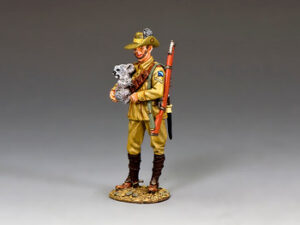 AL101Australian Light Horseman and Koala
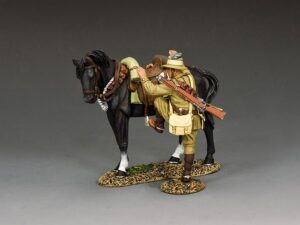 AL106Trooper Mounting Up with Black Horse
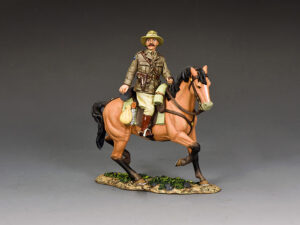 AL107Officer Turning in the Saddle
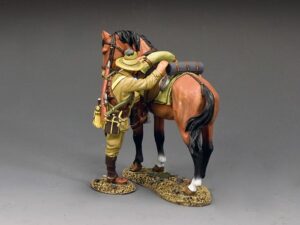 AL108Trooper Mounting Up with Brown Horse
Historical images · AL
Light Horse photographs from Palestine
The archive records the work around the mounted troops as well as the fighting. These photographs show a headquarters group and horses being watered near Beersheba.
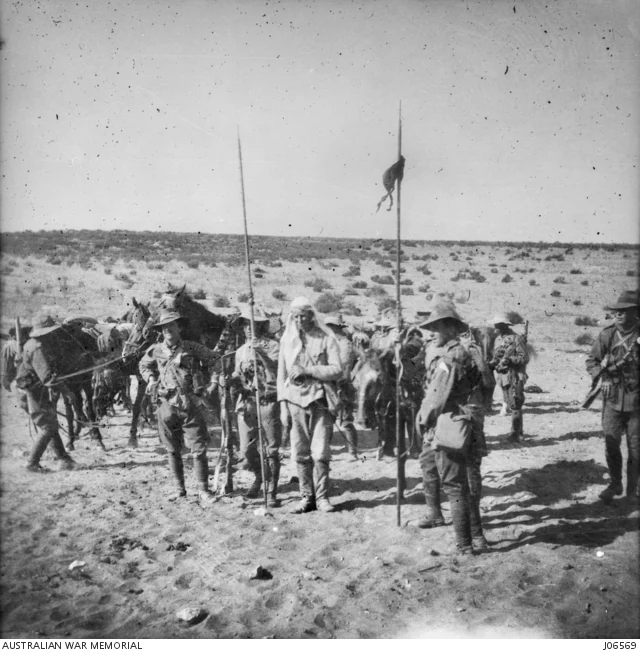
A headquarters group near Beersheba
A pennant planted in the sand marks this October 1917 headquarters scene. Men stand on foot with horses close behind, giving a useful view of hats, equipment and the relationship between mounted and dismounted figures. AL027 and the dismounted riflemen fit this quieter side of the campaign.
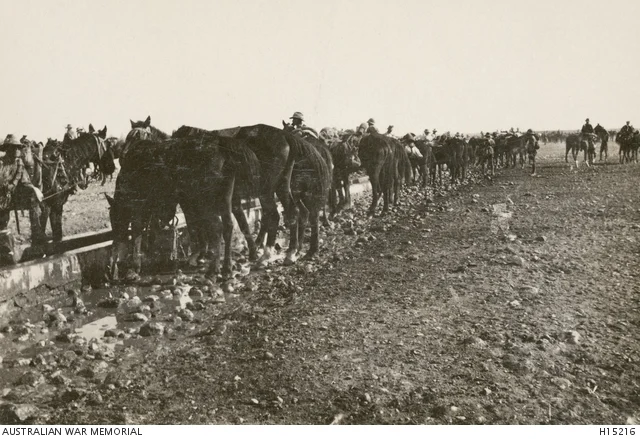
Watering the horses
The horses of the 12th Light Horse Regiment stand in a long line at the water. Saddlery remains in place while the animals drink. The scene gives context to the range’s standing horses and preparing-to-saddle figure: tending mounts occupied time and space throughout a mounted unit’s day.
More about the AL collection
Overview
The Australian Light Horse is one of King & Country’s most distinctive and celebrated World War I series. These figures capture the daring mounted troops of the Australian Imperial Force who fought across the deserts of Sinai, Palestine, and the Middle East. Numbered as a dedicated sub-range, the Light Horse line includes mounted troopers, officers, dismounted riflemen, and dramatic charge poses — all hand-painted in 1:30 scale with the attention to detail collectors expect from King & Country.

Campaigns covered by the range
The Australian Light Horse were mounted troops who served with distinction during the First World War. Unlike traditional cavalry, they rode to battle but fought dismounted as infantry, adapting perfectly to desert warfare. Their iconic slouch hats, often adorned with emu plumes, became a lasting symbol of Australian military tradition.
They first saw action at Gallipoli in 1915, where their horses were left behind in Egypt and the men fought in the trenches alongside the ANZACs. Despite heavy casualties, they quickly adapted to the grim realities of trench warfare. After Gallipoli, the Light Horse returned to the Middle East, where their mobility proved invaluable during the Sinai and Palestine Campaign, conducting long-range patrols, raids, and reconnaissance that pushed Ottoman forces back across the desert.
Their most famous moment came on 31 October 1917 at the Battle of Beersheba, when the 4th and 12th Regiments galloped across open ground under fire to capture the town’s fortified positions and vital wells. The stunning success of this charge helped secure victory in the broader campaign for Palestine. By the end of the war, the Light Horse had earned a reputation for toughness, initiative, and audacity — cementing their place as one of the most celebrated formations of the Great War.

Notable Actions
The Australian Light Horse are best remembered for their dramatic charge at Beersheba on 31 October 1917, when the 4th and 12th Regiments galloped across open desert under fire to seize fortified Ottoman positions and secure the town’s vital wells. It remains one of the last great cavalry charges in military history and a defining moment for the Light Horse.
Beyond Beersheba, the troopers proved their worth throughout the desert campaigns in Sinai and Palestine, where they fought in their distinctive slouch hats adorned with emu plumes. These mounted infantry rode swiftly across the desert, dismounting to fight as riflemen, conducting raids, and pushing the Ottoman army back in a series of hard-fought engagements.
Equally important was the role of leadership and support within the ranks. Officers rallied their men in the heat of battle, patrols scouted the arid terrain, and figures preparing for action captured the discipline and readiness that defined the Light Horse. Together, these moments showcase the unit’s adaptability, bravery, and enduring legacy.

Types of figures in the range
- Mounted Troopers
Charging with bayonets fixed, galloping with rifles, or riding at full tilt — centerpiece figures for any Light Horse display. - Dismounted Actions
Soldiers firing from cover, kneeling riflemen, and reloading figures capture the infantry side of mounted operations. - Command & Officers
Officer figures with drawn swords or binoculars provide focal points for dioramas. - Support Elements
Machine gunners, horse holders, and casualties add realism and variety to larger scenes.
Why I started this catalog
The Australian Light Horse has always fascinated me — both in history and in miniature. Their daring charges and desert campaigns during the First World War stand out as some of the most remarkable actions of the era. As a collector, I found it frustrating that there was no single place to see the full range of sets together. This catalog is my attempt to change that. It combines my love of WWI history with my passion for toy soldiers, bringing the Light Horse story into one accessible reference for fellow collectors and enthusiasts.

Diorama Ideas
The Light Horse line lends itself to wide, cinematic desert displays. A few collector-favorite ideas:
- Charge at Beersheba
Multiple mounted figures galloping together, lances lowered or rifles drawn, charging Ottoman defenses. Pair with Turkish opposition figures from K&C’s Ottoman WWI range. - Desert Patrol
A small mounted section advancing across sandy terrain, with one or two dismounted troopers scouting ahead. - Command Post
Officer figures surveying the battlefield, flanked by runners and dismounted guards. - Mixed Arms Battle
Combine mounted charges with dismounted riflemen and machine-gunners to capture the unique flexibility of the Light Horse.


Collecting the range
One of the main reasons the Australian Light Horse series stands out is its unique subject matter. Few miniature manufacturers have focused so much attention on this iconic unit, and King & Country’s dedication makes the range a highlight of World War I collections. For military history enthusiasts, it offers a rare chance to experience the exploits of these mounted infantry in detailed miniature form.
Another defining feature of the line is its dramatic poses and lifelike motion. Galloping cavalry, riders charging with rifles, and dynamic command figures capture the daring spirit of the Light Horse. These figures go beyond static display pieces; they tell vivid stories of speed, determination, and battlefield courage, which sets them apart from many other ranges.
In addition, the series provides excellent compatibility with other World War I collections. These figures integrate smoothly with King & Country’s Gallipoli, Ottoman, and ANZAC lines. Collectors can stage broader campaigns or recreate pivotal battles across multiple theaters. A single Light Horse charge easily becomes part of a larger, more immersive display when combined with allied or opposing forces.
Finally, the Australian Light Horse series holds strong investment appeal. Many of the early releases are now retired, creating scarcity and rising demand on the secondary market. Collectors who secured these sets early often own some of the most valuable pieces in the range. New additions continue to attract attention, blending rarity, historical significance, and visual impact to ensure that the Light Horse remains one of King & Country’s most desirable series.
About this catalog
I try to update these daily. As more information is available and as I have time to add entries in this catalog, I will update this list ASAP. The goal is for this to be a collectors guide and reference for the AL line. Feel free to CONTACT me with suggestions regarding this catalog. This is a labor of love but I want it to be useful to any active and passionate collectors out there.
Australian Light Horse sets on OTB Companion
After identifying a release here, continue with OTB Companion’s King & Country Australian Light Horse catalog to browse model-number pages, retirement status, set details, and current eBay listings.
Before buying a Australian Light Horse set
Use the Operation ToyBox Companion collector guides to turn a catalog match into a better-informed listing comparison.
- Identify the maker, complete model code and pose
- Check figures, accessories, condition and packaging before buying
- Read individual set identification notes and source evidence
These general buying guides include examples from several King & Country series. They do not certify the contents or condition of a seller’s individual item.