
King & Country AL023 Surrender or Die: A Two-Figure Encounter After the Charge
Explore King & Country AL023 Surrender or Die, its historical setting, distinctive details and place in the Australian Light Horse collection.

Military medics, nurses, ambulances, wounded soldiers and casualty sets.
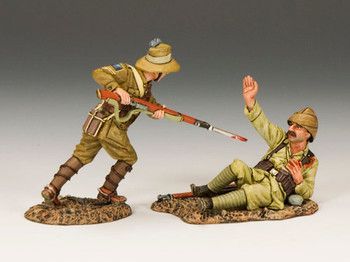
Explore King & Country AL023 Surrender or Die, its historical setting, distinctive details and place in the Australian Light Horse collection.
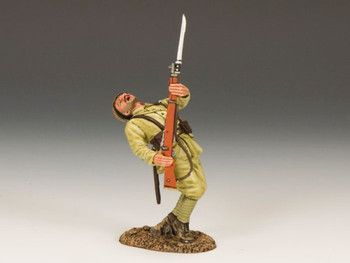
Explore King & Country AL022 Turkish Casualty, its historical setting, distinctive details and place in the Australian Light Horse collection.
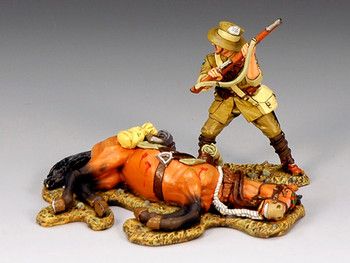
Explore King & Country AL006 Dismounted and Still Fighting, its historical setting, distinctive details and place in the Australian Light Horse collection.

Explore King & Country DD247 Wounded Paratrooper and Medic, its historical setting, distinctive details and place in the D-Day collection.

Explore King & Country DD246 Supplies Medic, its historical setting, distinctive details and place in the D-Day collection.

Explore King & Country DD242 Sitting Wounded, its historical setting, distinctive details and place in the D-Day collection.

Explore King & Country DD241 Walking Wounded, its historical setting, distinctive details and place in the D-Day collection.

Explore King & Country DD231 Dead and Gone, its historical setting, distinctive details and place in the D-Day collection.

Explore King & Country DD210 Blood Transfusion, its historical setting, distinctive details and place in the D-Day collection.

Explore King & Country DD209 The Rescue, its historical setting, distinctive details and place in the D-Day collection.