
King & Country AL023 Surrender or Die: A Two-Figure Encounter After the Charge
Explore King & Country AL023 Surrender or Die, its historical setting, distinctive details and place in the Australian Light Horse collection.

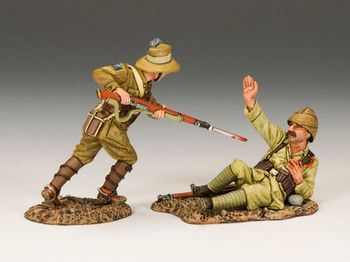
Explore King & Country AL023 Surrender or Die, its historical setting, distinctive details and place in the Australian Light Horse collection.
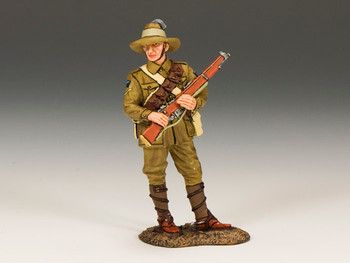
Explore King & Country AL021 Standing Light Horseman, its historical setting, distinctive details and place in the Australian Light Horse collection.
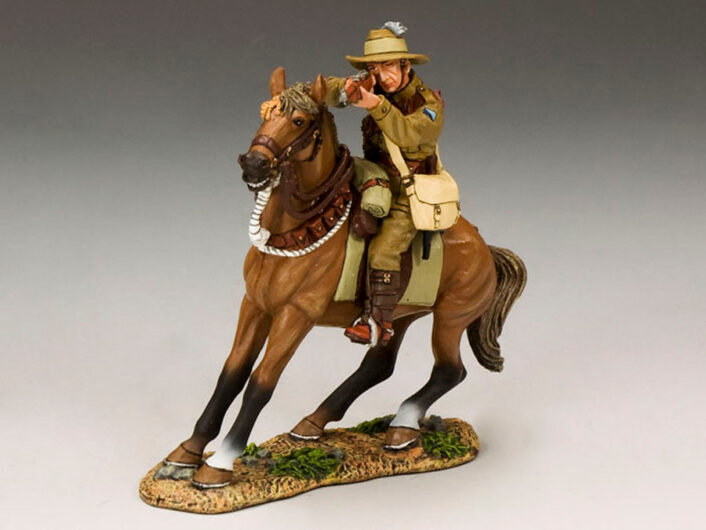
Explore King & Country AL016 Firing Rifle Light Horseman, its historical setting, distinctive details and place in the Australian Light Horse collection.
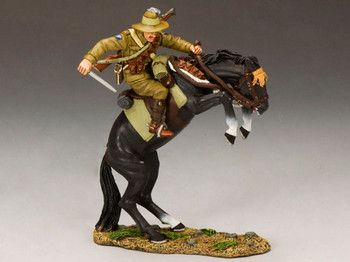
Explore King & Country AL014 Leaping Light Horseman, its historical setting, distinctive details and place in the Australian Light Horse collection.
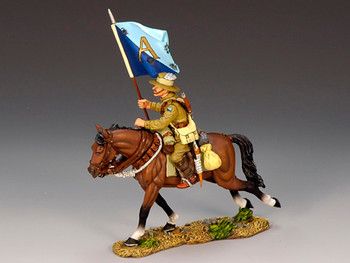
Explore King & Country AL007B Mounted Flagbearer with Squadron Guidon, its historical setting, distinctive details and place in the Australian Light Horse collection.
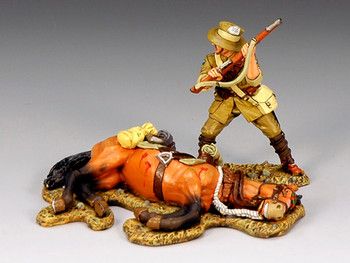
Explore King & Country AL006 Dismounted and Still Fighting, its historical setting, distinctive details and place in the Australian Light Horse collection.
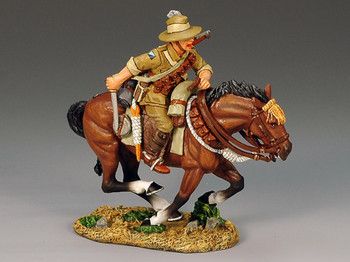
Explore King & Country AL005 Charging with Bayonet to the Rear, its historical setting, distinctive details and place in the Australian Light Horse collection.
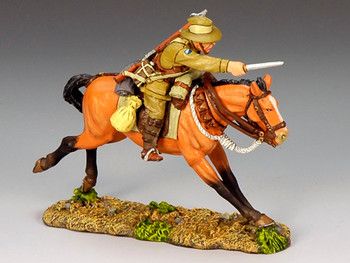
Explore King & Country AL004 Charging with Bayonet to the Front, its historical setting, distinctive details and place in the Australian Light Horse collection.
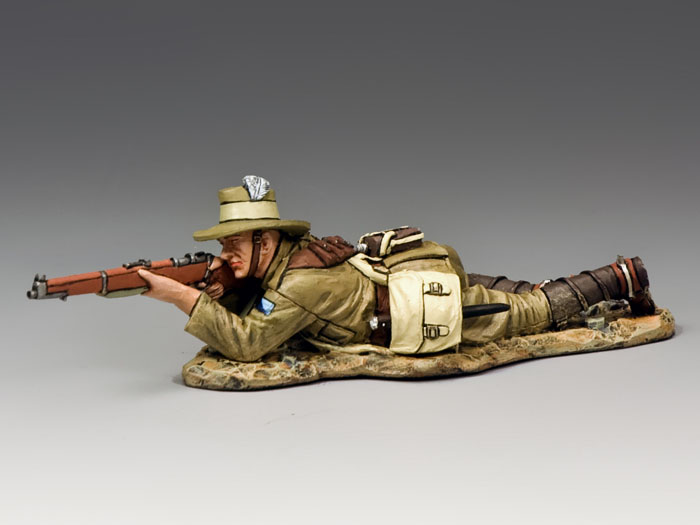
Explore King & Country AL044 Lying Firing with Rifle and Bayonet, its historical setting, distinctive details and place in the Australian Light Horse collection.
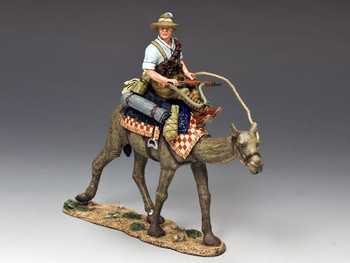
Explore King & Country AL038 Shirt-Sleeve Order, its historical setting, distinctive details and place in the Australian Light Horse collection.